Do you want beautiful, well-groomed nails? A visit to the professional is not necessary for this. With our tips, you can easily do the manicure yourself at home. Read here the step-by-step instructions for careful nail care and find out what else to look out for.
Our hands and fingernails are our personal calling cards: If we have an interview or greet someone, we often shake hands. How well-groomed we appear to our counterpart depends, among other things, on the condition of our hands. Avoid dry skin, brittle nails, and splintering nail polish.
A careful and regular manicure keeps the fingernails beautiful, shiny, and the cuticles healthy. It contributes accordingly to a well-groomed appearance. A visit to a cosmetic studio is not necessary. With a few tips, you can do a manicure yourself at home.
Instructions: do your own manicure at home
Beautiful fingernails are the result of thorough and regular care. You can find out how to do a manicure yourself at home here.
Step 1: Remove nail polish
If you already have paint on your nails and splinters off, you should first remove the nail polish. There are several methods for doing this.
Nail polish remover is commercially available in liquid form or cream. To clean the nails, put some remover on a cotton ball and use it to rub off the polish. Brush it from the root to the fingertip – this way, no residues of varnish get on the cuticle.
Many nail polish removers contain the solvent acetone. This dries out the skin severely and can irritate if used too often. Experts also suspect that the vapors from acetone are supposed to be harmful. Alternatively, there are removers with alcohol or microcrystals. The latter is applied like nail polish. After a short exposure time, scrape off the lacquer underneath.
A mixture of some household vinegar and citrus fruit juice is suitable as a home remedy. Run over your painted finger.
In glitter nail polish and UV varnishes, removal is only possible with a remover containing acetone.
Step 2: Nourishing hand bath & peeling
Soak your hands in a hand bath for a few minutes. If you want, add shower gel or care soap. Then clean the fingernails with a soft nail brush.
If the hands are rough, exfoliation will help. It removes dead skin. Your hands are then more receptive to care substances. You will need a little olive oil and refined sugar or salt for the peeling. There is one tablespoon of refined sugar or salt for every three tablespoons of olive oil. Mix the ingredients in a small bowl. Apply the mass to your hands and massage them carefully for a few minutes.
Step 3: remove cuticles
To prevent the skin at the nail root from tearing and becoming inflamed, you should carefully remove it. This works easier after a hand bath. If you want, apply a special cuticle remover from the pharmacy beforehand.
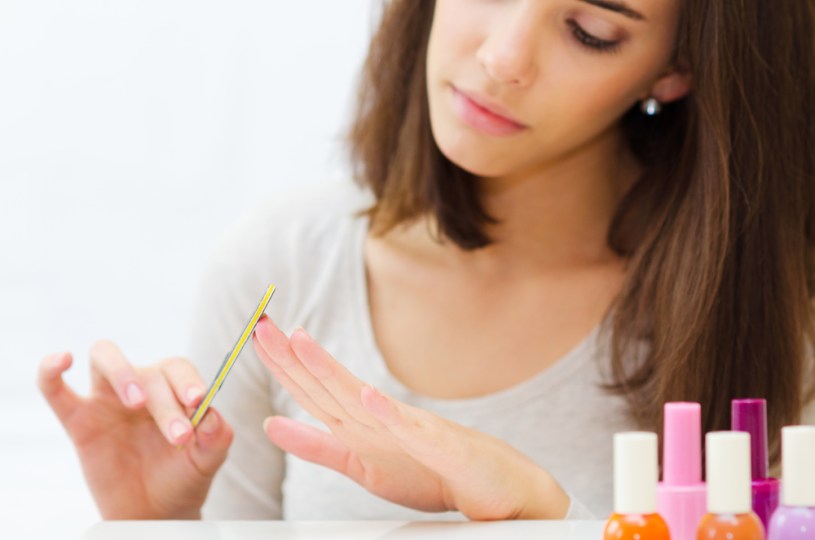
Step 4: file nails
Files made of sandpaper or glass files are suitable for shortening and shaping your nails. Use a fine grain size for thin nails; thicker nails can be shortened with coarser-grained files. Do not use metal files. They roughen up the keratin in the nail tip, creating sharp edges. If you have bathed before, wait a little longer before filing: Softened nails are difficult to shape.
Which shape you choose for your nails is up to you: you can file them long or short, round or square, oval or pointed. If you have wide nails, an oval and slightly pointed shape is advantageous. Thin nails come into their own when they are angularly shaped.
Place the nail file at a 45-degree angle on the outer edge of the nail and then file in the direction of growth from top to bottom. Place the file where the nail protrudes from the nail bed.
